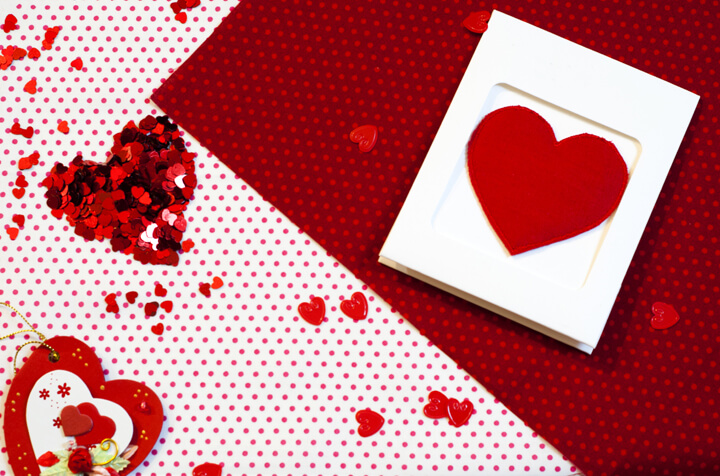
Valentine’s Day has long been associated with tokens of love, and it has also, for us at the Rhinestone Shop at least, become an opportunity to make some cheery seasonal rhinestone crafts. Check out our Valentine favorites.
Flower pins
Make these easy and cute little flower pins for your Galentine’s lunch. To make these flowers, you’ll need the following:
- Chiffon
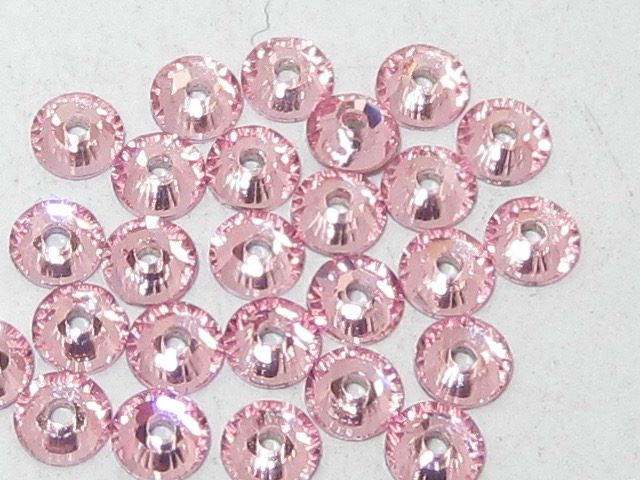
- Round, flat-backed, sew-on rhinestones
- Felt
- Pin back
- Glue
- Needle and thread
- Scissors
Cut ten layers of chiffon in a flower pattern that is two inches wide. Lay the chiffon layers alternating the petals so there is overlap. Cut a matching piece of felt and place it as the back layer.
Use needle and thread to sew the rhinestone through the middle of the chiffon layers and felt to unite the layers and create your flower. Crinkle the chiffon to “fluff” the flower.
Finally, glue the pin back to the felt and let the pin set. Repeat until you have enough for all of your friends!
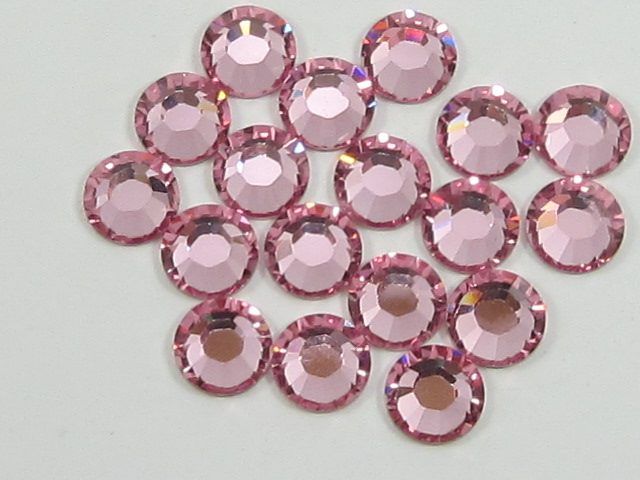
DIY Bangles
Accessorize your Valentine’s Day! Crafts stores actually sell wooden bangles that you can paint in your favorite Valentine’s colors and bling with your favorite rhinestones.
Try less traditional versions of red and pink as your paint colors, which will make them wearable beyond the Valentine’s season. Get a mix of bangle sizes and shapes. For example, mix wide, flat bangles with thin, rounded ones.
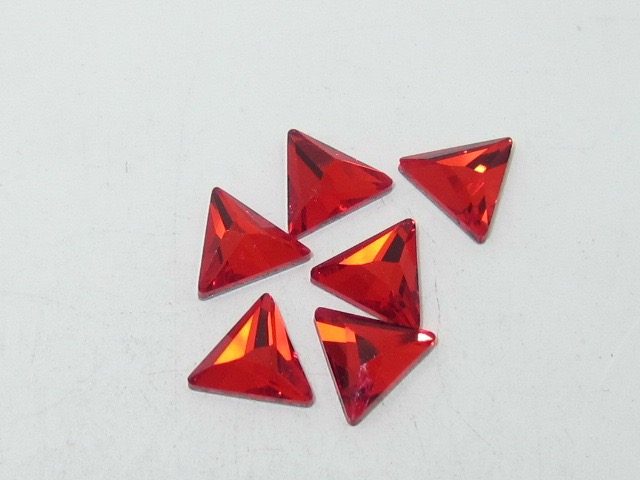
Use acrylic paint to coat the inside and outside of the bangles, and use silver, red, or pink flat-backed rhinestones to create rhinestone patterns. This can also be a good time to use fun shapes like deltas and squares. Get creative!
String Art
Make wall art that spreads the love in February.
For this charming and rustic craft, you’ll need a few atypical craft tools, along with some of the usual suspects.
- Wooden board
- 25–40 flat-head, 1.5-inch nails
- Red or pink string (embroidery floss or thin yarn works well)
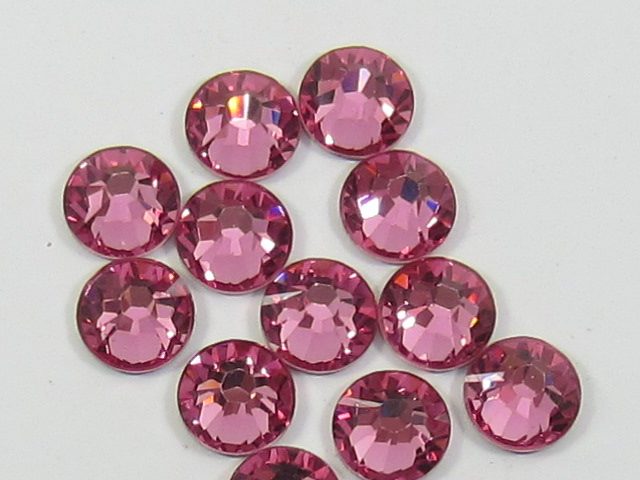
- Red or pink flat-backed rhinestones
- Glue
- Hammer
- Scissors
Use a heart template, size it to approximately six inches wide and trace it on to your wooden board. Carefully nail your nails about one-half inches apart around the template. The nails should be nailed in so they are straight and secure.
Cut an approximately 3-foot piece of string and tie one end to the bottom nail of the heart. Weave the string lengthwise across the heart to another nail, then wrap and take the string in an opposite direction. Continue this until the string has wound around every nail on the heart and tie off the end. Snip the loose ends.
Glue a round, flat-backed rhinestone to the head of each nail head to finish the piece. If you wish to hang your string art, attach a frame bracket to the back.
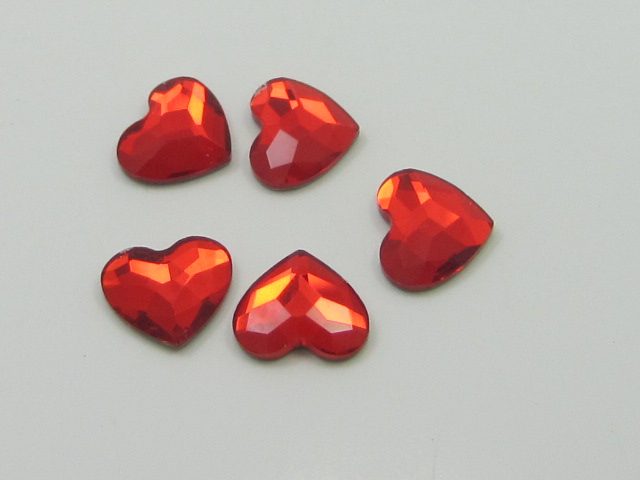
Heart Mobile
If you’re a new parent or parent-to-be and you’re looking for a fresh project, why not make a cute heart mobile for the baby’s room? You’ll need:
- Ribbon
- 8-inch dowel
- Acrylic paint
- Felt, assorted colors
- Batting
- Heart-shaped rhinestones
- Scissors
- Needle and thread
First you’ll want to make your stuffed hearts, which will hang from the dowel. Cut hearts in matching pairs, about three inches wide. Use a printable heart template from the String Art guide.
Stitch most of the way around the outside of the heart, then stuff with batting, and then finish sewing the heart. Make five hearts total, and attach a heart-shaped rhinestone to the middle of each heart.
Cut five lengths of ribbons, varying in length from five to eight inches. These will then be sewn to the top of each heart. Paint your dowel, if desired.
Tie each heart to the dowel, making sure there is room for the hearts to hang. Cut a 24-inch piece of ribbon and attach to the dowel and use it to hang your mobile.
Cedar Votive Holders
Create something that’s a blend of rustic and bling that will help set a romantic and unique table.
To make these votive holders, you’ll need cedar discs, which you may be able to find from your yard or from a neighbor, but you can also buy them online.
Ultimately, a tea candle is going to rest partially inside it, so you’ll want a disc that is relatively thick. Use a tea candle to make an outline on a cedar disc. Using a rotary tool, carefully remove wood where the tea candle will go. Be patient—this part may take a little time, and be sure not to cut all the way through the disc.
To finish the disc, add rhinestones to either the sides of the disc or the top that will surround the candle. The rhinestones will help the candlelight sparkle!
Simple Heart Vase
It really is simple. Promise. The premise Is white branches, paper hearts and rhinestones, and a vase. That’s it.
You’ll need a vase of your choosing, and bare florist branches, If they aren’t already white, go ahead and spray paint them white.
Scour your scrapbooking stash or dig through the scrapbooking section of the craft store and find Valentine’s themed patterned paper. Cut the paper into 1-inch wide pairs of hearts.
You don’t have to do this for every branch, but every so often, take a pair of hearts, and glue them back to back (pretty side facing out!) on the tips of branches. Continue this until you have a vase full of branches and it looks full.
Finally, you can add your rhinestones. Use a variety of colors for visual interest while still keeping with the Valentine’s theme.
Plastic Ring Heart Wall Art
Create a wall piece that’s easy to make and easy on the budget. Using plastic rings, you can make a heart wall art that’s festive, fun, and sparkly!
Use twelve plastic rings and a skein of variegated red and pink yarn. Wrap each ring with yarn to cover the plastic. Carefully arrange the rings in a heart shape and securely attach the rings to one another using hot glue and yarn.
Add rhinestones to the rings to finish the heart.
Sparkle Year Round
Valentine’s Day doesn’t have to be all about the chocolate and cards (but it doesn’t hurt). We hope you have a fun and dazzling holiday full of good crafting. Be sure to check out The Rhinestone Shop’s full inventory of rhinestones, nailheads, and supplies!


