 Unless you’re an essential worker, you’ve probably been spending most of your time stuck inside your home these past few weeks. It’s easy to let the stresses of the world start to weigh you down, so we at the Rhinestone Shop thought it might be a good time for a sparkly distraction—DIY rhinestone projects!
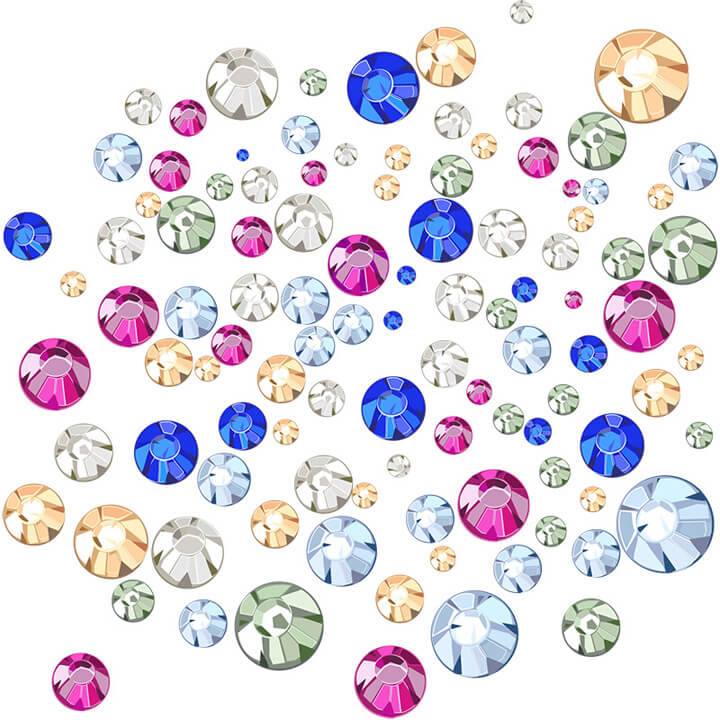
The goal this time is to keep you and the kids busy making gifts out of leftover rhinestones from other projects and use what you have laying around the house since it’s not particularly easy to just run out and pick up supplies right now.
Upcycle an Old Vase
Do you have a dusty, unloved vase sitting around somewhere? Maybe a ceramic bowl? Platter? It’s time to give these guys a makeover with a little bit of paint (if you have it) and some assorted rhinestones.
Paint your vase with either a solid base color or a base color and designs. Fingerprint flowers can be a sentimental addition if you have children. Add your rhinestones once the paint has fully dried.

Shoelace Bracelet
If you have colorful or interesting spare shoelaces in the house, these can actually be woven into cute bracelets with a rhinestone touch. If you don’t have shoelaces, this could theoretically work with study shoelace-sized ribbon, too. We have two styles you can work with, depending on what you have at home: the three-strand braid or the single lace weave.
The three-strand braid uses three different laces, preferably in three different colors. Tape the end of each lace to the top of a table or clip to a clipboard and start to braid fairly tightly. Braid until you have the length of the bracelet, plus extra for tying the ends. Bracelets are usually 6-8” for women and 7-9” for men.
When the braid is complete, tie the lace ends together that aren’t taped down. Take the tape off and to the same for the other end. Carefully glue flat-backed rhinestones to your bracelet. The bracelet can be fastened by either tying the ends together on the wrist or using a safety pin to hold it in place.
The single lace weave works if you only have one lace or ribbon. You’ll need a single shoelace and, optionally, a fastener (safety pin, or a jewelry fastener if you want to get fancy!).
To make the weave, you’ll want some visual assistance in the process. Thankfully, our friends at wonderfuldiy.com have a great gallery to help explain the loop process. We promise, once you get the first loop, the rest is easy peasy. If you aren’t going to use a fastener, don’t snip anything until after the weave is completed.
Keep weaving until you have your full bracelet length. For the final loop, you’ll push the other lace end through the available loop and pull to tie it off. If you don’t have a fastener and are going to tie the bracelet, leave about 2 inches before you snip the lace. If you do have a fastener, attach it now and make sure it fits, then snip the laces.

Tennis Ball Holder
If you’re a tennis person but don’t have any good dogs to share old tennis balls with, here’s a cute project/gift idea that we promise will have you smiling every time you see it.
The tennis ball holder attaches to the wall, looks like a cute smiling face, and is kind enough to hold things in its mouth for you like keys, mail, and pens. You’ll need:
- An old tennis ball
- Pencil
- A sharp knife
- A wall fastener (wall hook, suction cup)
- Big rhinestones for eyes
- Accessories to add personality to your holder (optional)
On one side of the tennis ball, draw a line where you would like the mouth to be. Very carefully make your cut. You can always make the mouth bigger if you need to, so start small and work your way larger. Try putting thing in the mouth and see if it’s wide enough.
The opposite side of the ball will attach to the wall, so you may need to make a small cut in the tennis ball to attach the wall fastener (Be careful!). Now you can add some personality! Your tennis ball holder needs eyes, and rhinestones, in our opinion, seem like the obvious bling choice.
Your holder is officially ready to be put to work, but you can always dress it up with more accessories like more rhinestones, flowers, miniature cowboy hats, or whatever else your glittering heart desires.

Bling Artsy Portraits
This is a craft project that may not be for everyone, but it works well if you have a high-quality printer. Find your favorite black-and-white image and print the best quality image you can on photo paper (if you have it) or cardstock.
Once you have your image, you can start adding your rhinestones to jazz up whatever features you’d like—sunglasses, earrings, clouds—the possibilities are endless!
Because there are rhinestones on your picture creating a three-dimensional effect, it likely won’t fit under a typical glass piece of a picture frame, but you can just do without.
Rhinestone “Cat” Flowerpot
Make an adorable flowerpot out of a 2-liter soda bottle that looks like a cat, and make it sparkle with rhinestones! You’ll need:
- Empty 2-liter soda bottle
- Paint
- Scissors
- Rhinestones and adhesive
Cut the top two-thirds of the bottle off and discard. Using this template as a guide (and also as more detailed instructions on the project), cut the ears out of the top inch of the remaining bottle. Paint the entire outside of the bottle to your desired cat color.
Now you can make your rhinestone cat face! If you want, you can use a mix of permanent markers and rhinestones to make the face, or you can go full bling, depending on your supply levels. The ears, eyes, nose, and whiskers should all be visible. Add some gravel, dirt, and a houseplant, and you’re good to go!
The Rhinestone Shop is Still Open!
The Rhinestone Shop is still open and getting supplies out to you, even in these hard times. Be sure to check out our constantly expanding inventory of European crystal rhinestones, glue, tools, and more.


