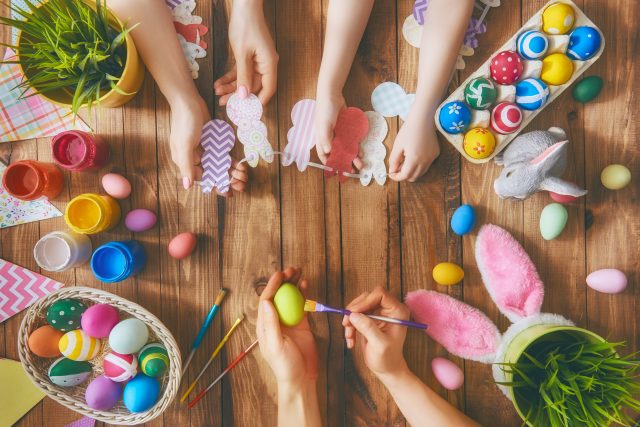
After what feels like a long winter, spring finally seems to be arriving! Flowers are starting to bloom, and the sun feels a little bit brighter, and that also means the Easter holiday is upon us.
The gang at The Rhinestone Shop has put together a collection of DIY rhinestone craft projects for the Easter season. Grab your favorite rhinestones and let’s get crafting!
Spring Flowerpot
Don’t have a green thumb? Don’t worry! This beautiful centerpiece project is perfect for those of us who can’t seem to keep plants alive no matter how hard we try. To create a sparkling rhinestone flower centerpiece, you’ll need:
- Flowerpot, 4-7 inch diameter
- Floral foam
- Bamboo skewers
- Cardstock paper (or heavier weight)
- Glue
- Acrylic paint
- Rhinestones, assorted colors
- Easter “grass”
![]()
If desired, paint your flowerpot to your favorite color. White or cream can also provide a good base for a colorful bouquet. Trim floral foam to fit the inside of the flowerpot and put the floral foam in place. This will be the base for your “flowers”.
Each skewer will have two paper flowers glued back-to-back to create a stemmed flower. Cut flowers out of cardstock in sets of two. You can then attach your flowers to the top of each skewer. At this point, feel free to paint your flowers.
Rhinestones will add the final touches to your flowers. Use a variety of colors to adorn your stemmed flowers, and arrange them in the pot. Once your flowers are in place, use Easter grass to fluff up the base of your flowers and hide the foam.
Elaborate Eggs
What’s Easter without a few eggs, right? Some of the most beautiful Easter eggs in the entire world are based on colorful Ukrainian eggs known as pysanky. Pysanky have fantastic colors and geometric patterns, and we think those designs are the perfect inspiration for dazzling Easter eggs for a centerpiece.
Instead of the traditional wax and dye method for pysanky, we’re putting rhinestones on painted eggs.
You’ll need:
- Wooden eggs (found at craft stores)
- Acrylic paint, assorted colors
- Rhinestones in a variety of shapes and colors
- Glue
The idea is to create geometric patterns to create a colorful, sparkling effect similar to that in the pysanky eggs.
The wooden eggs will need to be painted, and you’ll get the most dynamic results by painting the eggs in a rainbow of colors. Paint wide stripes in varying colors as the background for your eggs.
You’ll want to plan out your rhinestone pattern before you start to glue, but we recommend using smaller stones near the top and bottom of the egg and gradually using larger sizes as you meet in the middle.
When the rhinestones are set, repeat until you have enough eggs to set in a bowl for an unusual centerpiece for your Easter table. Alternatively, these eggs make beautiful gifts for children, or you could display your eggs in individual egg cups.
Sparkling Egg Tower Centerpiece
If you’re wanting something a little more dramatic than rhinestone eggs in a bowl, try your hand at a towering egg centerpiece. You’ll need about 8-10 rhinestone eggs, depending on their size.
The egg centerpiece will also require a terra cotta pot that’s roughly 6 inches in diameter. You’ll need floral foam, floral moss, and hot glue.
Start by filling the pot with floral foam, leaving about a ¼” gap at the top. Glue 3-4 eggs around the top of the flowerpot, trying to keep the eggs vertical. If there is a gap in the center, add a piece of floral foam for extra support.
On top of the first layer, stagger another layer of eggs in between each egg at the base. Continue this pattern (and fill the center with floral foam) until you are satisfied with the height. The second to last layer should have three eggs, and the top of the tower will have one egg. Fill in the gaps between all of the eggs with floral moss.
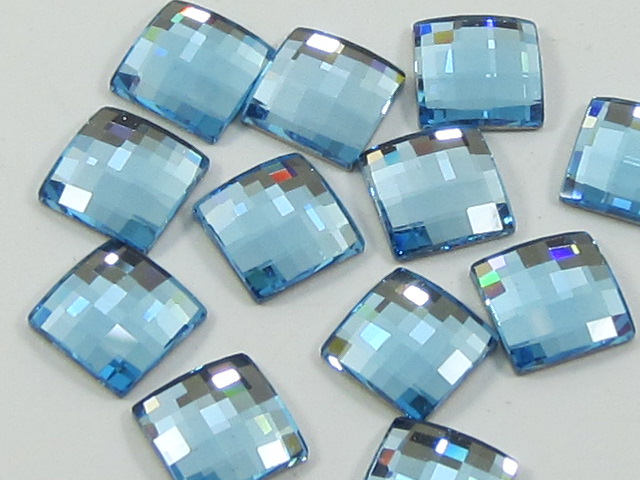
Rhinestone Spring Garland
Garland is a lovely way to add some holiday touches to your home. It’s easy to drape in front of a window or even hang from a chandelier. To make an Easter-themed garland, you’ll need:
- Stiff felt, assorted pastel colors
- Rhinestones, assorted colors and shapes
- Scissors
- Mini clothespins (found at craft stores)
- Twine
![]()
Cut your stiff felt into assorted spring-like shapes. In this case, simple flowers and eggs will do the trick. These shapes will be the backdrop for your rhinestone designs.
Use different shaped rhinestones to create dazzling patterns on each of your felt shapes. This can be a good time to get kids involved if you are looking for an Easter craft project for the family.
For hanging your garland, cut a piece of twine about a foot longer than where you intend to hang it. Use clothespins to clip your felt shapes to the twine about 4 inches apart from each other.
Springtime Flower Napkin Rings
Planning on having a big Easter meal with the family? Jazz up your table a bit with sparkling napkin rings. You’ll start with a plain napkin ring. You can find these at any store that sells housewares.
Ideally, you’ll want to find napkin rings that don’t already have a lot of adornment. The surface should be fairly smooth so it’s easier to apply your rhinestones. To start, you’ll want to gather together:
- Napkin rings
- Rhinestones
- Stiff felt
- Glue
- Scissors
The idea is to create felt roses in assorted colors that are touched up with rhinestones. To make your flowers, you’ll need to cut felt into individual petals. To actually create the flower, start by wrapping some of the petals together fairly tightly to create the flower’s center. Glue the bases together.
Start working your way around the center “bud”, slightly overlapping each petal and gluing them in place. You may want to take the time to “fluff out” the petals to create a flower that looks like it’s blooming. Repeat this process until you have a flower for each napkin ring.
At this point you can start to add your rhinestones! Glue rhinestones to your flowers however you feel will best show them off. Glue the whole flower to the napkin ring, and add a few small rhinestones to the base to cover hide the glue, if necessary.
Check our The Rhinestone Shop’s huge selection of Swarovski crystal rhinestones, which are perfect for all of your holiday craft projects.


