
Valentine’s Day, despite its reputation as a couples’ holiday, actually has something for everyone. It’s a time when you can tell your family and friends that you care, and kids get a kick out of trading cards and candy. And let’s not forget about our favorite made-up holiday, Galentine’s Day, February 13, which celebrates your best gal pals in style.
We here at The Rhinestone Shop think every holiday is a good reason to bring out some rhinestones, and the season of love is no exception. We’ve dug through our inventory and scoured the internet for some of our favorite do-it-yourself Valentine projects to get you through February.
Love-ly Heart Wind Chime
Feeling inspired by more than one Pinterest board, we’ve discovered that DIY wind chimes have enormous potential for style, material, color, and shape. This heart-themed wind chime — a riff on Rebekah’s from Country Living — can be adapted to fit what you have on hand, and dazzling rhinestones are the finishing touch that will create a sparkling centerpiece for your porch.
Materials:
12 Heart-shaped cookie cutters: 3 large, 3 medium, 3 small
Heavy gauge wire OR 8-inch dowel, stick, or rod
Seasonal ribbon
3 heavier pendant rhinestones
Rhinestones in 3 of your favorite colors
Twine
Scissors
Hammer and nail
To start, carefully punch holes in the top and bottom of each cookie cutter using the hammer and nail or an awl. Separately, form the wire into a hoop. Wrap ribbon around the wire to cover, or do the same with the dowel if you’re using that instead.
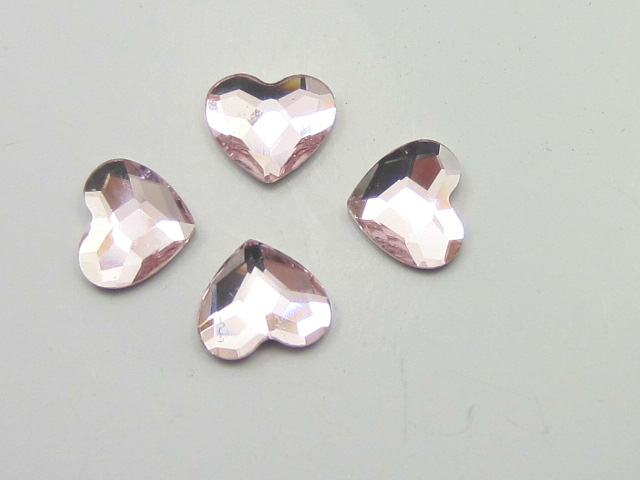
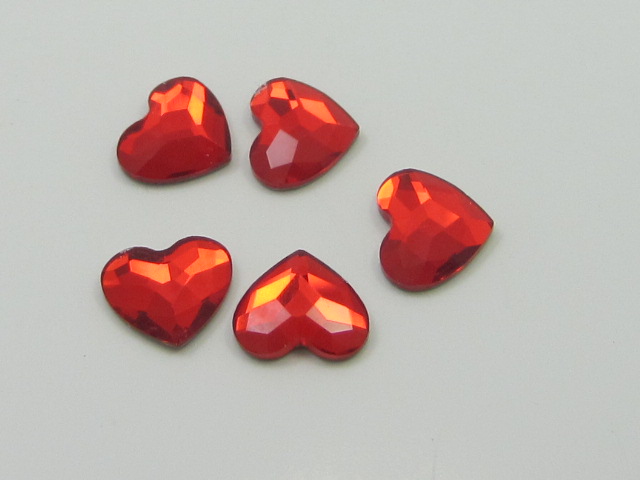
Before we put everything together, we’ll add a little bling. Use flatback rhinestones in a seasonal color — think red, pink, purple — and add them to the inside or outside of the cookie cutters. Or both! Use your favorite patterns and colors to add some sparkle, but just make sure you avoid the holes we just punched.
To make the ‘chimes’ you’re going to create three strands of hearts on twine. Start stringing a few inches from one end, and use knots to keep the hearts in place. The hearts will go largest to smallest from the top down. Use a rhinestone pendant bead at the end of each strand. Bonus points if you use hearts!

Tie the chimes to the hoop, and use three additional strands of twine at the top to create a knot for hanging. Display it on your porch and watch the light dance while your hearts sway in the breeze.
Rhinestone Heart Planters
Does your loved one have a green thumb? For gardeners, you can never have too many cute planters. You can find heart-shaped planters online, but what’s the fun in that? Make your own — and don’t forget to add sparkles for your signature flair.
You’ll need oven-bake polymer clay and flat-backed rhinestones for this project, plus a few odds and ends.
Find a heart template online and size it to the size planter you want to make, then print and cut. Form the base of the planter with clay and fit to the heart template. Don’t worry if it’s a little messy right now — you’ll tidy everything up in a minute.
Next build the walls of your planter, probably a few inches. Looking a little lumpy? Let’s start cleaning up. Use flat tools to smooth and shape the heart. You can even use things like the outside of cereal boxes to smooth and make the sides and angles square. Lastly, punch a drainage hole in the middle the base. Once you’re satisfied with the shape, peel off the paper template from the base, then bake according to your clay directions.
When the clay is cool, you can paint it if you want, then start fixing flat-backed rhinestones to the outside of the pot. Finally, prepare for planting a cute houseplant or a little succulent or two.
Love Sign
When you go to craft store, it’s hard to not walk away with something. Or a few somethings. One item we love to keep in our stash are wooden letters. This time of year you can also find standalone wooden words like love.
These seasonal signs add some finishing touches on your home, and it can be a sweet project for the kids to get in on. In a few simple steps, you can turn an ordinary sign into something unique that has your stamp on it.
You’ll need:
Wooden letters or sign
Seasonal scrapbook paper (you only need a few sheets)
Mod Podge
Flat-backed rhinestones
Scissors and paintbrushes
Roughly cut scrapbook paper to fit over the letters. Later, you’re going to carefully nip around to fit, so this doesn’t have to be perfect. Then, use a paintbrush to put a thin layer of Mod-Podge on the front of the sign.
Apply the paper to the Mod-Podge and smooth it out with your hands or with a bone folder. The last thing we want to deal with are wrinkles. When everything is smooth and dry, carefully snip the excess paper away. If you’re comfortable with it, use a blade tool like an X-acto knife.
We’re going to apply another layer of Mod-Podge to the top of the paper. It looks opaque at first, but it will dry clear. If needed, apply a second layer after the first layer is dry. Rhinestones finish the whole project off. Add accent rhinestones, and if your letters are thick enough, you can put tiny rhinestones on the sides of the letters to add depth.
European Rhinestones at The Rhinestone Shop
Not to toot our own horn, but our selection of European rhinestones is incredible, and if you’re feeling really into the Valentine’s spirit, we even have heart-shaped rhinestones. In addition to flat-backed rhinestones, we also have pendants, hotfix, sew-on, and specialty shapes.
We pride ourselves on being a one-stop shop for rhinestones and accessories, and we bring in new items every month. Rhinestones add that extra flair to any DIY project, so check back for new inventory items!


